Introduction - Self-driving cars with Carla and Python part 1
Hello and welcome to a tutorial series covering Carla, which is an open-source autonomous driving environment that also comes with a Python API to interact with it.
The main idea of Carla is to have the environment (server) and then agents (clients). This server/client architecture means that we can of course run both the server and client locally on the same machines, but we could also run the environement (server) on one machine and multiple clients on multiple other machines, which is pretty cool.
With Carla, we get a car (obviously), an environment to drive that car in, and then we have a bunch of sensors that we can place upon the car to emulate real-life self-driving car sensors. Things like LIDAR, cameras, accelerometers, and so on.
Our first order of business is to actually get Carla. It's pretty simple. Click that big blue Get Started button and then scroll down a bit to the latest release.
From here, at least at the time of my writing this, the latest version to have windows support is CARLA 0.9.5. If you're on linux, feel free to grab the 0.9.6, or later, versions.
For the purposes of this tutorial, I am using both 0.9.6 on Linux and 0.9.5 on Windows.
For both, you just need to download the compressed files. If you're on Linux, then click on 0.9.6 and then click the CARLA_0.9.6.tar.gz
If you're on Windows, then go to 0.9.5 and grab CARLA_0.9.5.zip
Later, you might be able to get more up-to-date versions. Feel free to do that, just know that things will change over time, including the code syntax. It might be best for you to learn on the same versions that I am using, then later upgrade. Do whatever you want though!
Once you have the compressed info, extract it, and you will have what you need to run. In the main directory of what you just extracted, you will either have a CarlaUE4.sh if you're on Linux, or a CarlaUE4.exe on Windows.
To run this on Windows, just double click the .exe. On Linux, open a terminal in that directory and do
./CarlaUE4.sh
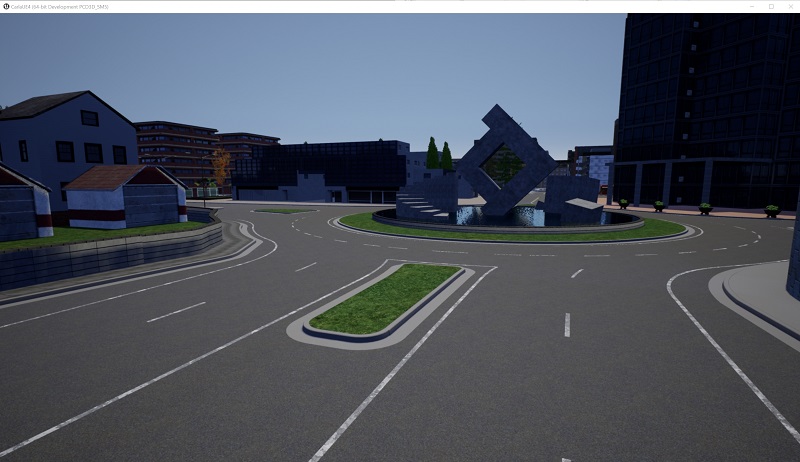
This will run the server. You should eventually see the map, which you can navigate with the WASD keys and your mouse. Of course, nothing is yet here. This is just our environment. The get started section shows some examples of what we can do, which make use of the examples that we can find in the PythonAPI directory.
Go ahead and navigate from the main Carla directory to the examples: PythonAPI/examples. Here, you will have some files like manual_control.py, dynamic_weather.py, and spawn_npc.py to name a few. We can check some of these out. Open terminal/cmd and run one like manual_control.py:
py -3.7 manual_control.py
Note: You need to use Python 3.7 here, otherwise you will need to build Carla yourself for a different version of Python.
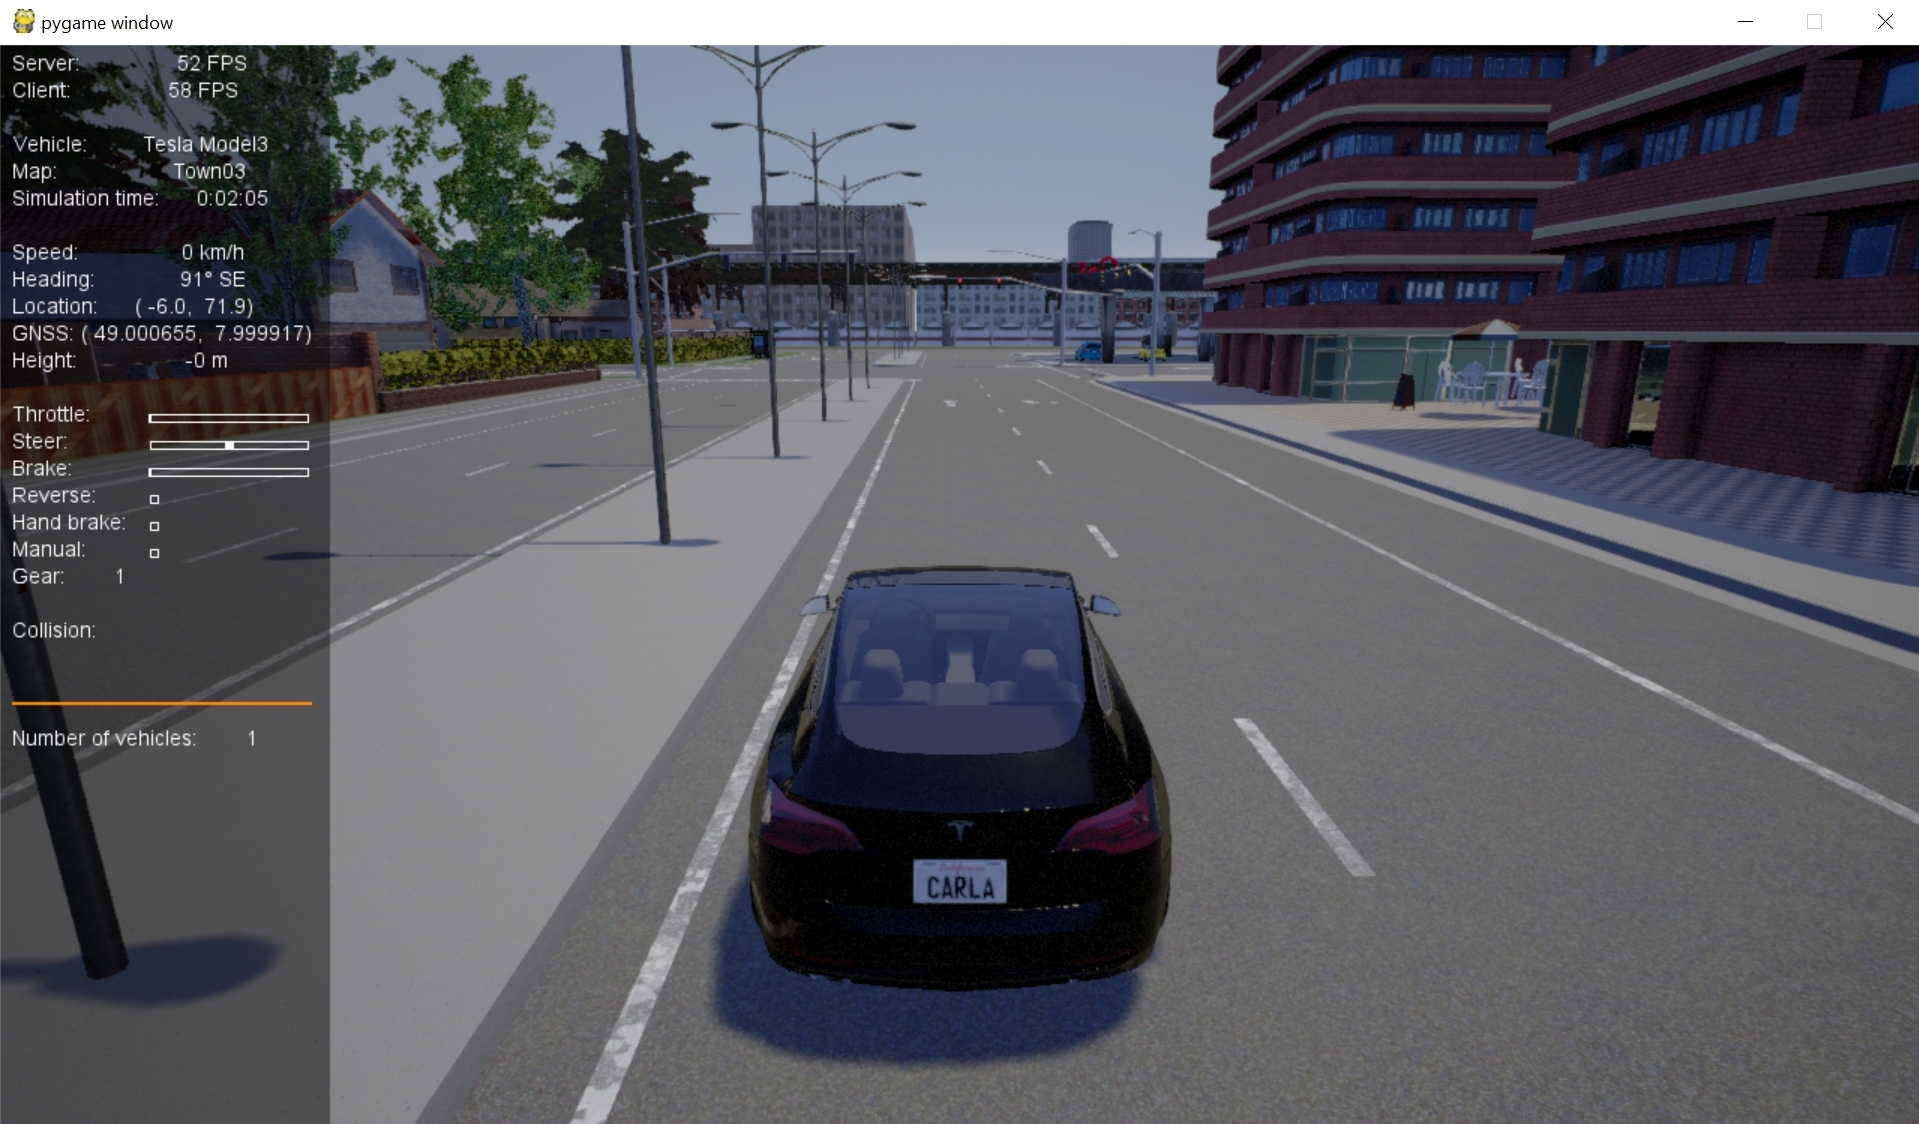
This will create another window (since client/server is separate). What you're seeing is an example of what we can do with the Python API. Here, you can control the car with WASD keys, and Q will change into and out of reverse.
Of course, driving manually around in here is not actually what we're here for. My goal is to let Python take the wheel! To begin, we need to have an understanding of how the Python API actually works, which will be the topic of the next tutorial.
-
Introduction - Self-driving cars with Carla and Python part 1
-
Controlling the Car and getting sensor data - Self-driving cars with Carla and Python part 2
-
Reinforcement Learning Environment - Self-driving cars with Carla and Python part 3
-
Reinforcement Learning Agent - Self-driving cars with Carla and Python part 4
-
Reinforcement Learning in Action - Self-driving cars with Carla and Python part 5
-
Longer-term model results - Self-driving cars with Carla and Python