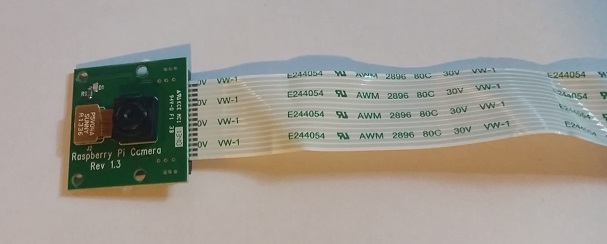
Raspberry Pi Camera Module - Raspberry Pi tutorial
Welcome to part 5 of the Raspberry Pi tutorial series, in this tutorial and the next few, we'll be introducing some of the sensors that are available. Probably the most popular sensor is the Raspberry Pi Camera module.
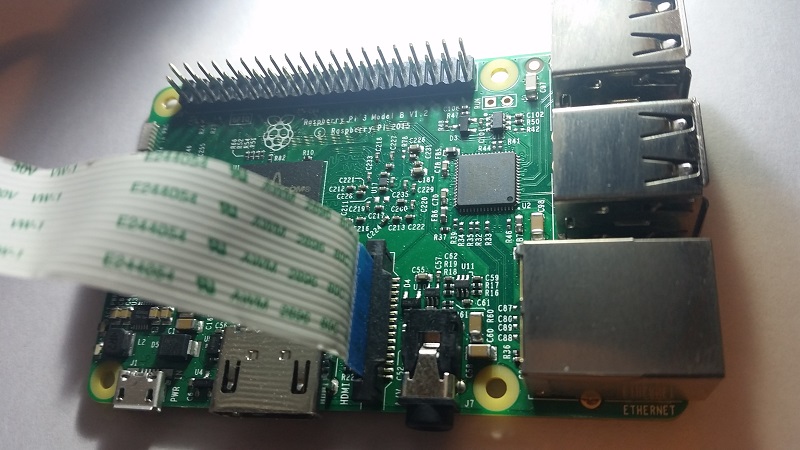
To connect the camera module, find the camera ribben cable port, behind the ethernet port. To "open" it, use your fingers on the two tabs on the edge and pull gently up, it should come up very easily. When up, you can slide in the ribben cable, then press back down on the same tabs to lock the cable in place:
Next, before we can use the camera module, we need to enable it. To do this, do $ sudo raspi-config
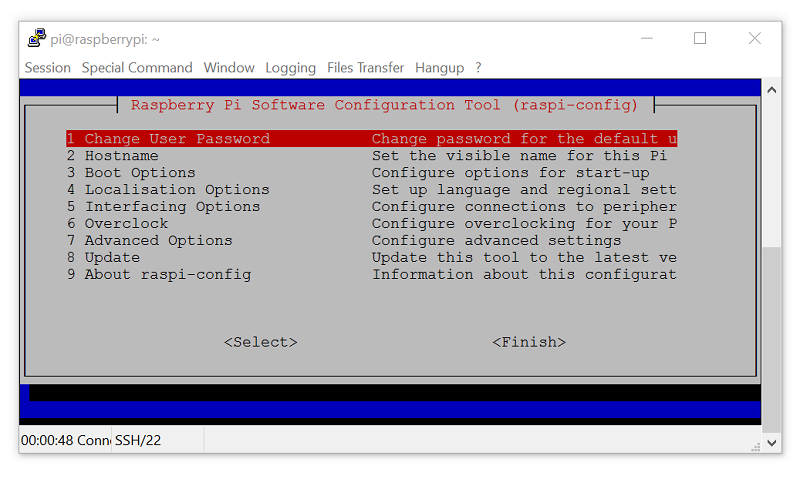
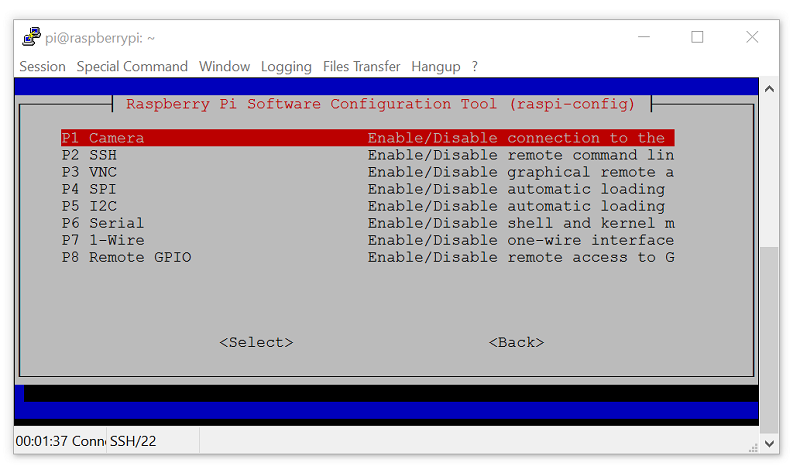
From here, choose the interfacing options:
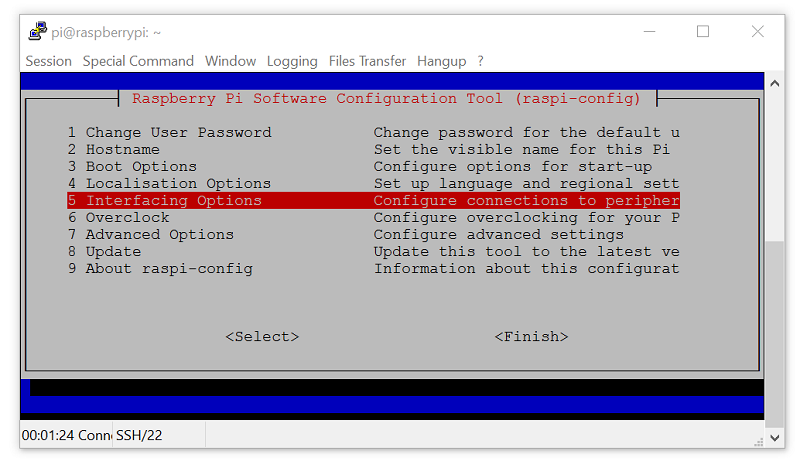
Then the camera:
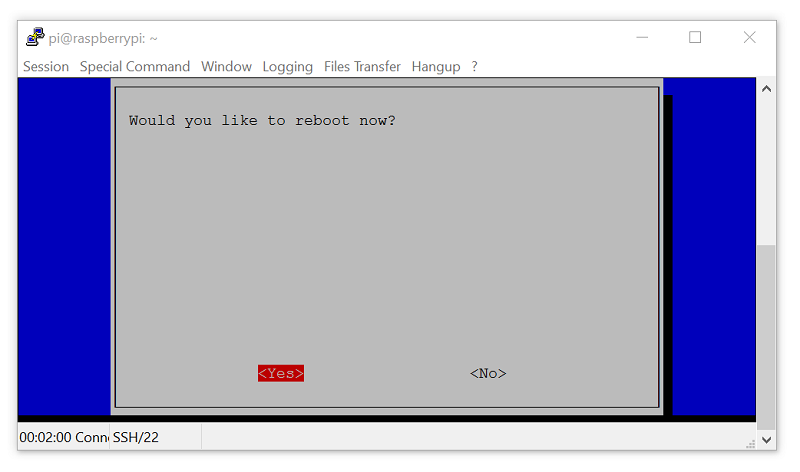
Yes to enable, and then go ahead and reboot:
Now, since we'd like to see the camera, we're going to require a desktop. You can either remote desktop into your Raspberry Pi for this, or you can connect physically to it. Once you're in, right click on the desktop, choose "create new"
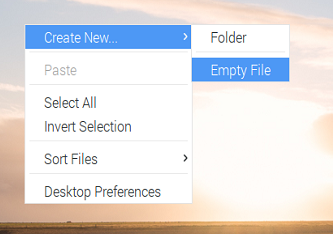
I am going to call my file cameraexample.py.
Let's open the terminal next (control+alt+t) and do a $ sudo apt-get install python3-picamera. You will likely find that you already have it, but we want to be sure.
Now, in our cameraexample.py file:
import picamera
import time

camera = picamera.PiCamera()
camera.capture('example.jpg')

camera.vflip = True

camera.capture('example2.jpg')

camera.start_recording('examplevid.h264')
time.sleep(5)
camera.stop_recording()
So we've done a few things above. We define the camera object as camera, and then we can use a bunch of methods. First, we use .capture() to snap a quick photo. If we look at this photo, we can see it is upside down, since the camera is upside down. No problem, we can flip the camera vertically with the .vflip, you can also use .hflip to flip the camera horizontally.
Next, we can record with .start_recording, stop with .stop_recording(), and we can use time.sleep() to determine for how long.
To see your video, open terminal, make sure you're on the desktop ($ cd Desktop), and then do:
$ omxplayer examplevid.h264. This will play it, but only on your actual display. If you're connected via remote desktop, you might not see the video, at least I didn't, and instead it showed up on the actual connected screen.
In the next tutorial, we're going to get into the GPIO pins for the Raspberry Pi, and a new sensor.
-
Introduction - Raspberry Pi tutorial
-
Remote Access with Raspberry Pi tutorial
-
Terminal Navigation - Raspberry Pi tutorial
-
Raspberry Pi Camera Module - Raspberry Pi tutorial
-
GPIO (General Purpose Input Output) Pins - Raspberry Pi tutorial
-
Input from a Sensor via GPIO - Raspberry Pi tutorial
-
Garage Stoplight GPIO Project - Raspberry Pi tutorial